

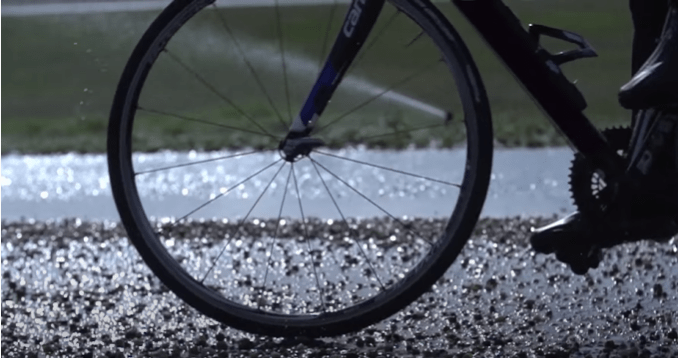
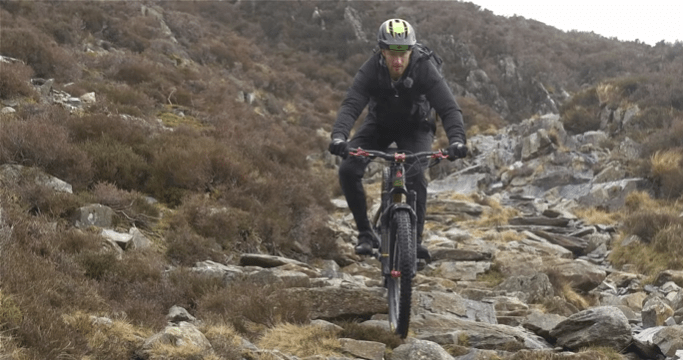
Fixing or installing a tubeless bike tire can be a challenging task. Whether you’re riding on the road, gravel, or all-terrain, tubeless tires provide a more comfortable ride. They are also waterproof, eliminating the need for an inner tube.
While tubeless tires offer excellent performance, it can be frustrating when they malfunction. After testing a tire change (the video is available at the end of this article), I found it challenging and decided to write an article to help you understand the common issues encountered during the installation process.
In this article, you will learn the basics of fitting or repairing a tubeless bicycle tire without any stress. I’ll do my best to make it easy for you to follow. Are you ready?
Tubeless tires made their debut in the cycling world in 1999 with the Mavic brand. However, the technology was originally patented by New Zealand engineer Edward Brice Killen 70 years earlier in 1929!
Michelin was the first to adopt tubeless technology for cars in 1955, and it is also used for motorcycles.
Mountain bikers quickly embraced tubeless mounting due to the tire’s strength, but on the road, it took until 2006 for tubeless to arrive, without really convincing many cyclists. Removing a road tubular or inner tube can be a challenging task.
Today, the technology still divides opinions, with Pro-Tubeless supporters and Anti-Tubeless opponents, similar to the pro vs anti-disc brake debate.
Despite the controversy, tubeless systems can be found on many new bike models, so it’s something we’ll have to get used to!
Tubeless tires offer several advantages, such as eliminating the risk of punctures caused by bursting or pinching the rubber in potholes since there is no inner tube. Instead, a preventive liquid seals punctures by hardening on contact with air.
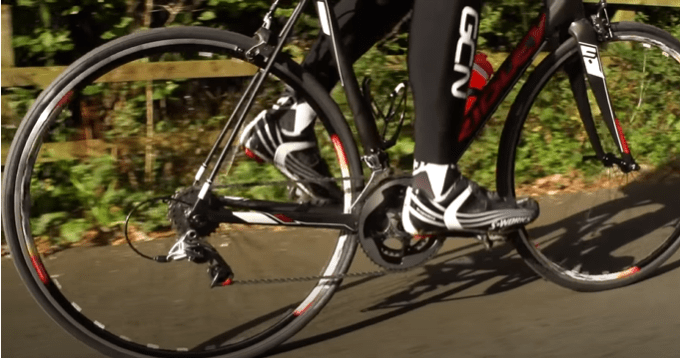
Tubeless tires provide a comfortable ride while offering excellent performance, particularly with wheels that have Tubeless installed, which are less resistant to rolling.
Compared to inner tube tires, tubeless tires do not need to inflate as much (0.8 to 1 bar less), making them an ideal choice for MTB or road biking because they offer excellent grip.
While tubeless tires offer many benefits, they also have some disadvantages. One significant issue is the difficulty of changing the tire when you’re out on the road. If you can’t remove the tire, you may have to switch back to inner tubes once you get home.
Another issue is the challenge of achieving a perfect seal when installing a new tubeless tire. Depending on the tire model, it may not press easily against the rim, making it difficult to achieve a proper seal. Incompatibility between the rim and tire models can also be an issue.
Due to these difficulties, many cyclists are hesitant to adopt tubeless tires.
A tubeless tire is a type of tire that does not require an inner tube and is placed on a waterproof rim.
Tubeless Ready:
The Tubeless Ready tire has a bead that provides excellent support and tightness. The sidewalls of this type of tire may not be airtight, which can cause slight air leakage during assembly. To avoid this, it is necessary to add preventive liquid when mounting a Tubeless Ready tire.
Tubeless Easy:
Tubeless Easy tires are a new category of tires with a monofilament called SnakeSkin on the sidewalls. This design reinforces the tire’s protection against side cuts, makes conversion to Tubeless easier, and is much simpler to mount. Schwalbe has developed this technology, and examples of this include the Tubeless easy Pro-One bicycle tire. This tire is lighter than a Tubeless Ready tire.
Tubeless:
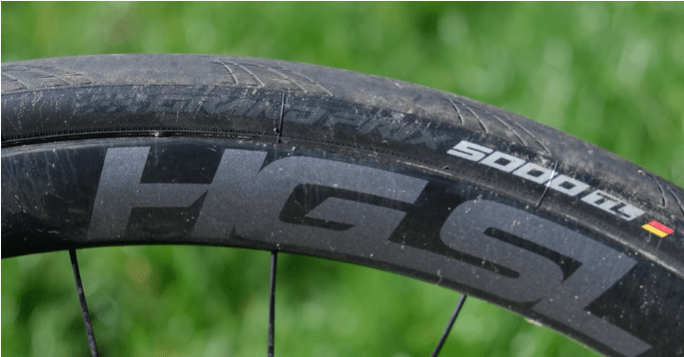
Tubeless tires are more resistant and easier to install if the wheel allows it. Its bead provides support and waterproofing by pressing against the rim. These tires also have sidewall reinforcement, such as the Continental GP5000 Tubeless tire, which eliminates the need for additional liquid and makes assembly easier. Injecting anti-puncture fluid from time to time can prolong the tire’s lifespan.
A Tubeless tire can be installed on one of the three existing rim configurations:
Tubeless tires that are “Tubeless Ready” typically have a flexible bead, while some have a rigid rod that doesn’t bend. Using a tire iron can make it easier to remove the latter type.
To identify a tire with a flexible bead, look for one that can be folded and taken along on your cycling adventures.
Generally speaking, Tubeless-ready tires are more difficult to install than Tubeless tires.
MTB Tubeless tires, on the other hand, have a flexible bead and reinforced sidewalls. This makes them less prone to punctures, making them a popular choice among mountain bike enthusiasts.
If you’re looking to install a tubeless tire, you’ll need some basic equipment. Here’s a rundown of what you’ll need:
Personally, I like to use a 1-liter bottle of No Flats Joe’s preventive liquid because it’s affordable. The only downside is that it doesn’t come with an integrated pipette, so you’ll need to be careful when applying it.
If you want to fit a tubeless road tire, follow these steps:
To complete the seal and facilitate assembly, apply Easy-Fit type assembly liquid. Remember to have patience, especially if you are a beginner.
When heading out on a road bike or gravel bike, it’s recommended to carry a puncture repair kit, including patches, glue, sandpaper, a set of tire irons, an inner tube, and a CO2 cartridge or mini-pump. For mountain bikes, a puncture-proof kit should include a lime round, drill bit holder, bits of different diameters, a tube of glue, an inner tube, and a mini-pump.
In the event of a minor puncture (less than 5mm), continue riding so that the preventive fluid can fill the hole and prevent air from escaping. If the puncture is major, remove the tire with a tire iron, stick a patch where the puncture is, and replace the tire if necessary before re-inflating it.
To repair a tubeless MTB tire on the spot, clean the edges of the hole with a bit holder and file tip, insert a suitable diameter drill bit, thread the drill bit over the inserter tip and into the tire, let it come out to plug the hole, and cut the excess wick before re-inflating the tire with a pump.
For a temporary repair, cut the wick and spread liquid glue on the outside of the tire at the location of the wick. Degrease and sand the damaged part, apply more glue, and put a patch inside and outside the tire before allowing it to dry. Finally, use a leather sewing needle and thick thread to make cross-stitches.
Mounting a tubeless road tire can be a challenging task, especially if it’s your first time. Be patient and don’t be afraid to start over if necessary to avoid any issues.
Using Easy-Fit assembly fluid to enhance grip caused air bubbles to escape during inflation. The fluid also clogged the sidewall of the tire, making it difficult to achieve proper tire grip. Therefore, cleaning the rim is essential.
I also struggled with low pressure while inflating due to my pump’s insufficient capacity. I recommend using an air tank like the Zefal Tank or a small compressor to speed up pressure build-up.
Using a syringe to inject preventive liquid through the valve makes tubeless wheel change easier!
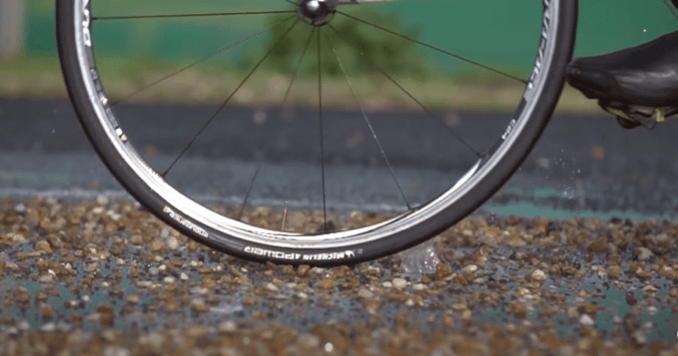
Not all tire models are compatible with rims. Before making a purchase, check the compatibility list, particularly for rims:
Tubeless tires tend to lose air pressure over time, so it’s essential to check the air volume regularly, especially before a ride.
Another crucial aspect is to check the preventive liquid level regularly. Generally, it is recommended to top it up every 3 to 6 months, depending on the environmental conditions you are riding in.
The preventive liquid helps seal any holes or micro-cracks in the tire, and its level may vary with the number of rides you take. To check the liquid level, remove the valve using a valve remover and pass a thin black rod until you reach the rim. This will allow you to see the liquid level instantly. If it’s low, add more preventive liquid through the valve. Recheck the level and close the valve.
Note that the preventive liquid is very sticky, so make sure not to leave the wheel with the valve down as it may cause difficulties when inflating the tire later. Following these steps will help you keep your tubeless tire in good condition and avoid any unpleasant surprises on your rides.

To summarize, make sure to check the compatibility of the tubeless tire with your wheel before making a purchase. It’s important to have some experience and training to change or repair a tubeless tire without any hassle. As for me, the tire assembly I did is working perfectly fine and I’m satisfied with how it feels while riding my bike.